How to add the Groom's Details
Print
Modified on: Tue, 6 Apr, 2021 at 1:52 PM
- On the Dashboard, underneath the License section on the right-hand side, you will see the Bride & Groom Details section.
- Click on the +Add Groom button.
![](https://s3.amazonaws.com/cdn.freshdesk.com/data/helpdesk/attachments/production/11071136803/original/p2vAoSV-HT6xG1WNN8dSFJQB0wKXhFyTHQ.jpg?1617709341)
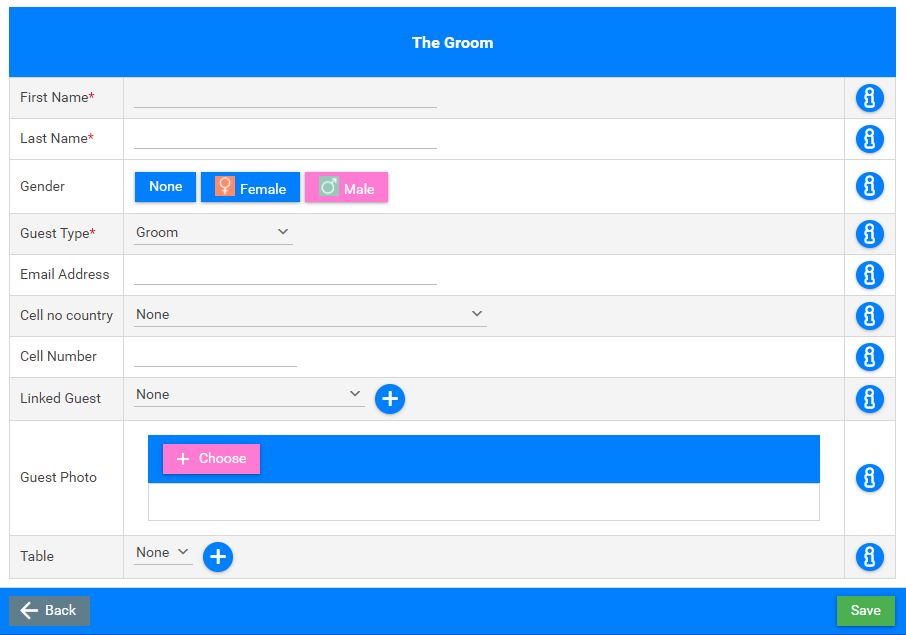
- The Groom table will be displayed. Provide all the details of the Groom, like First and Last Names and the Guest Type.
- Click on the Save button when you are done.
![](https://s3.amazonaws.com/cdn.freshdesk.com/data/helpdesk/attachments/production/11071136816/original/BMcuySZyuqNwa9xDg60YT3oGnD1P9jMQXQ.PNG?1617709364)
- A Success Message will be displayed as well as the Groom's Details will be updated.
![](https://s3.amazonaws.com/cdn.freshdesk.com/data/helpdesk/attachments/production/11071137242/original/qd5-FFqcinxQrFnn3xDEe8Cjfg6gG5p-Jw.PNG?1617709856)
![](https://s3.amazonaws.com/cdn.freshdesk.com/data/helpdesk/attachments/production/11071137280/original/lngKgSqfndToP9IUVEIE_sbAEFRJPVwDaA.PNG?1617709900)
Did you find it helpful?
Yes
No
Send feedback Sorry we couldn't be helpful. Help us improve this article with your feedback.